Active Directory Domain Services (AD DS) Lab
This project demonstrates how I installed and configured Active Directory Domain Services (AD DS) on a Windows Server 2019 virtual machine. The goal of this lab is to create the jzdomain.local domain, configure DNS, and promote the server to a Domain Controller.
Lab Overview
- Server OS: Windows Server 2019
- Role Installed: Active Directory Domain Services (AD DS)
- Domain Created: jzdomain.local
- Network Type: NAT + Host-Only Adapter
AD DS Installation Steps
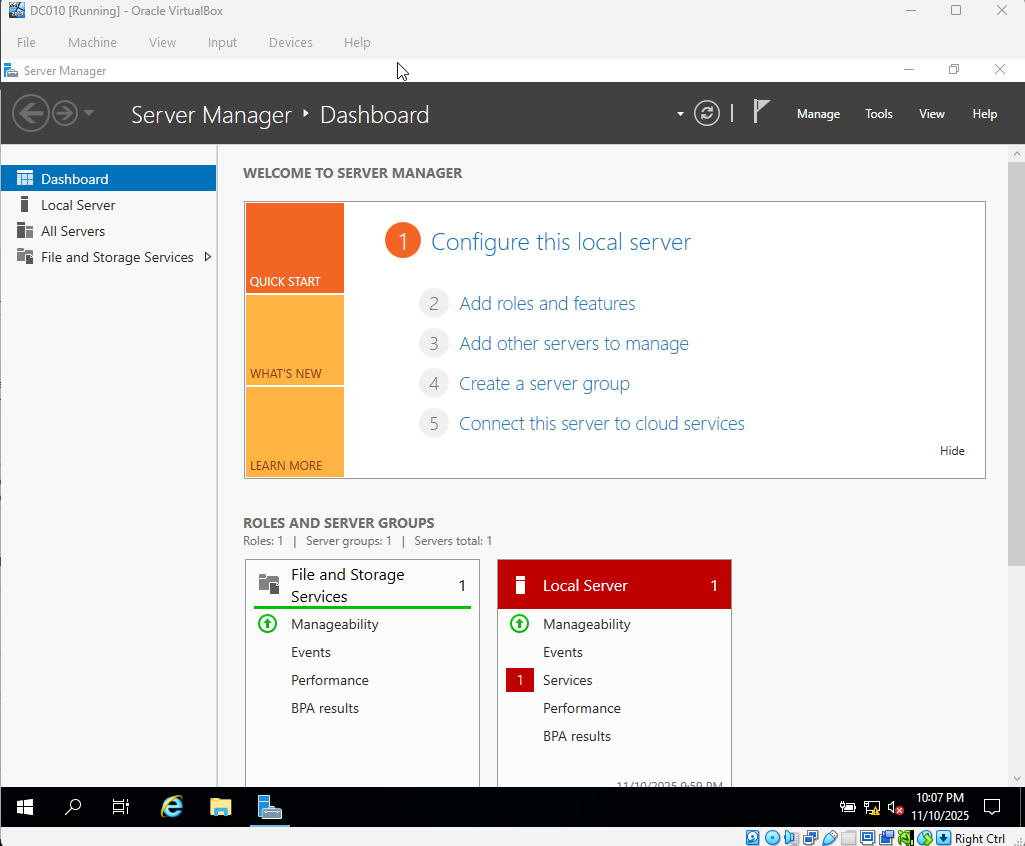
Step 1 – Add Roles and Features
In Server Manager, I started the wizard by selecting Add Roles and Features. This begins the process of adding the AD DS role to the server.
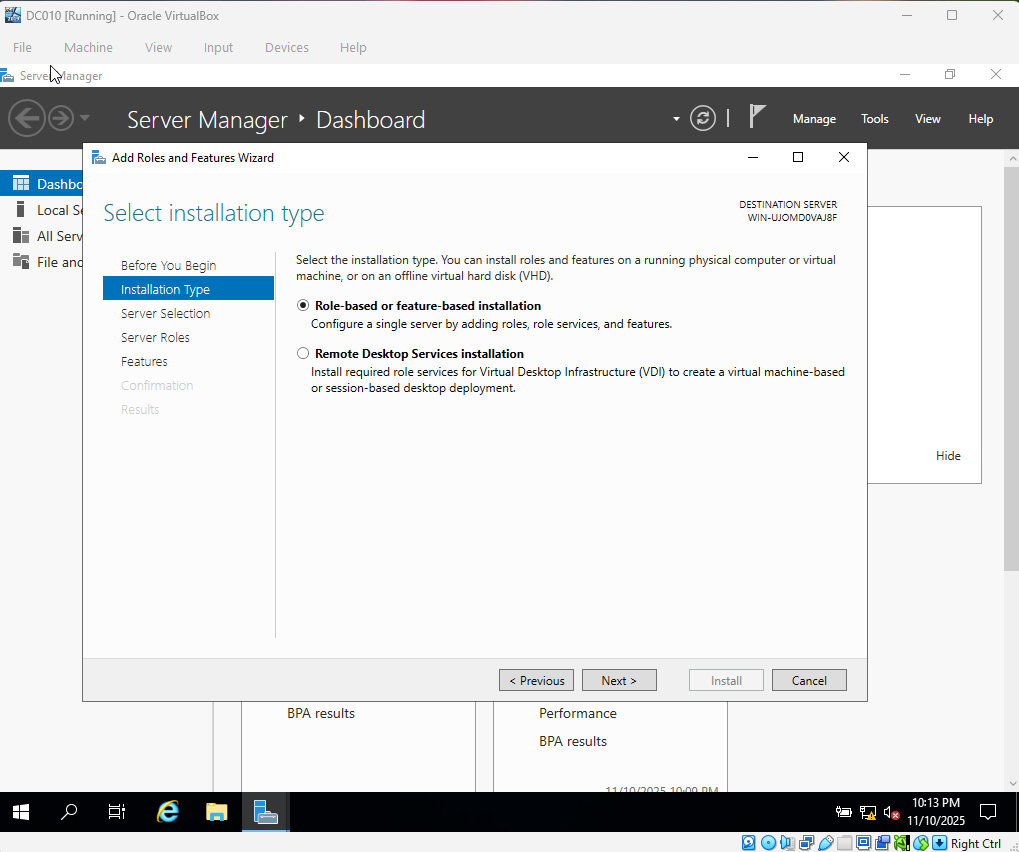
Step 2 – Installation Type
I chose Role-based or feature-based installation. This tells Windows that I'm adding a server role directly to this machine (not a remote or multi-server deployment).
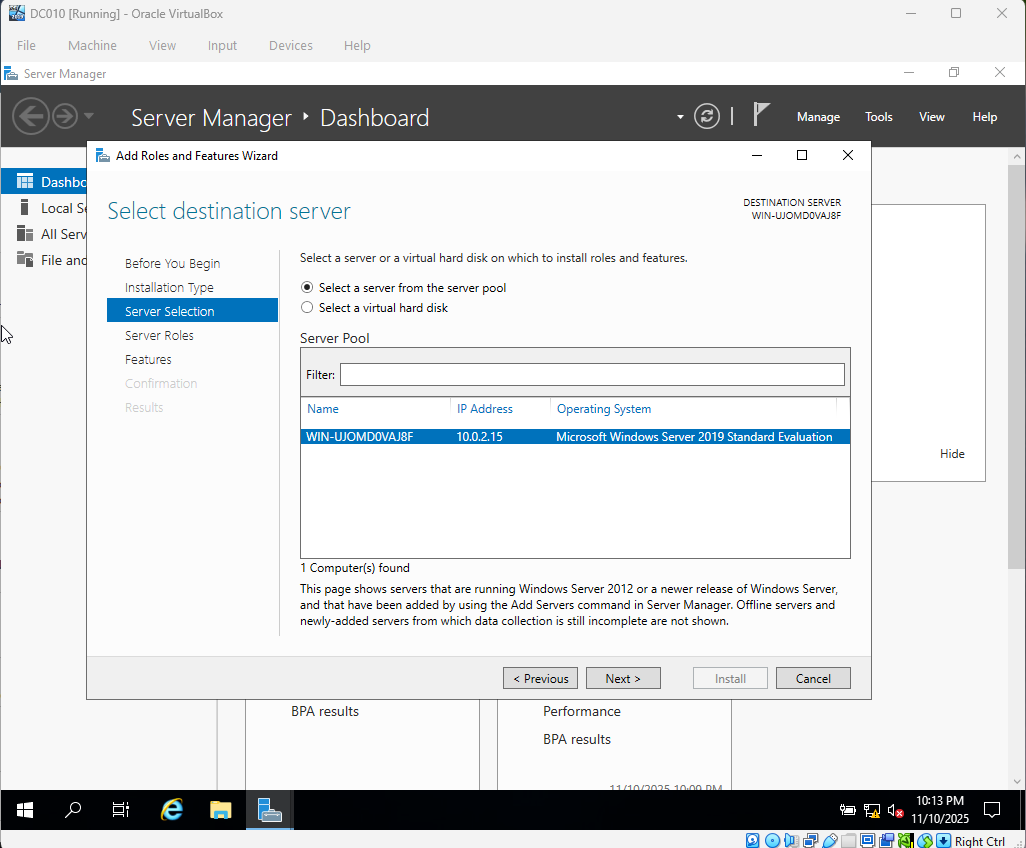
Step 3 – Server Selection
I confirmed that the local server was selected as the target for the new role.
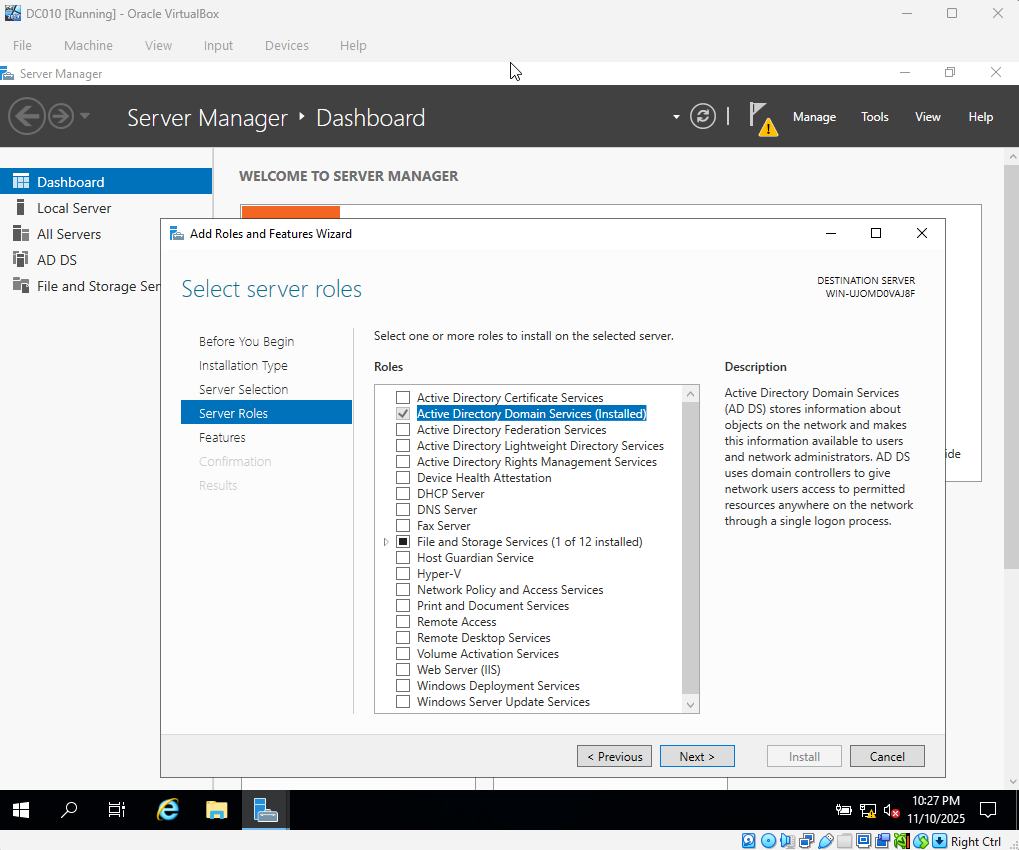
Step 4 – Server Roles
I enabled Active Directory Domain Services. This installs the components needed for user accounts, authentication, Group Policy, and domain management.
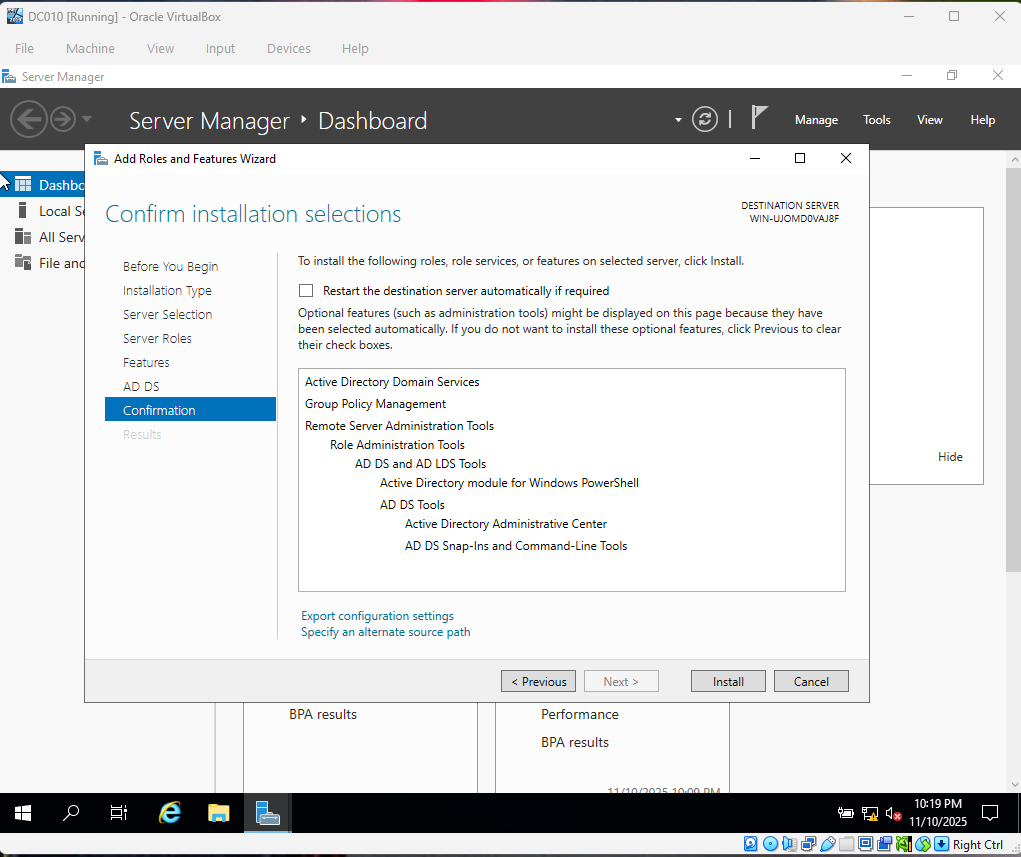
Step 5 – Confirmation
I reviewed the selections and started the installation of the AD DS binaries on the server. Once this completed, the server was ready to be promoted to a Domain Controller.
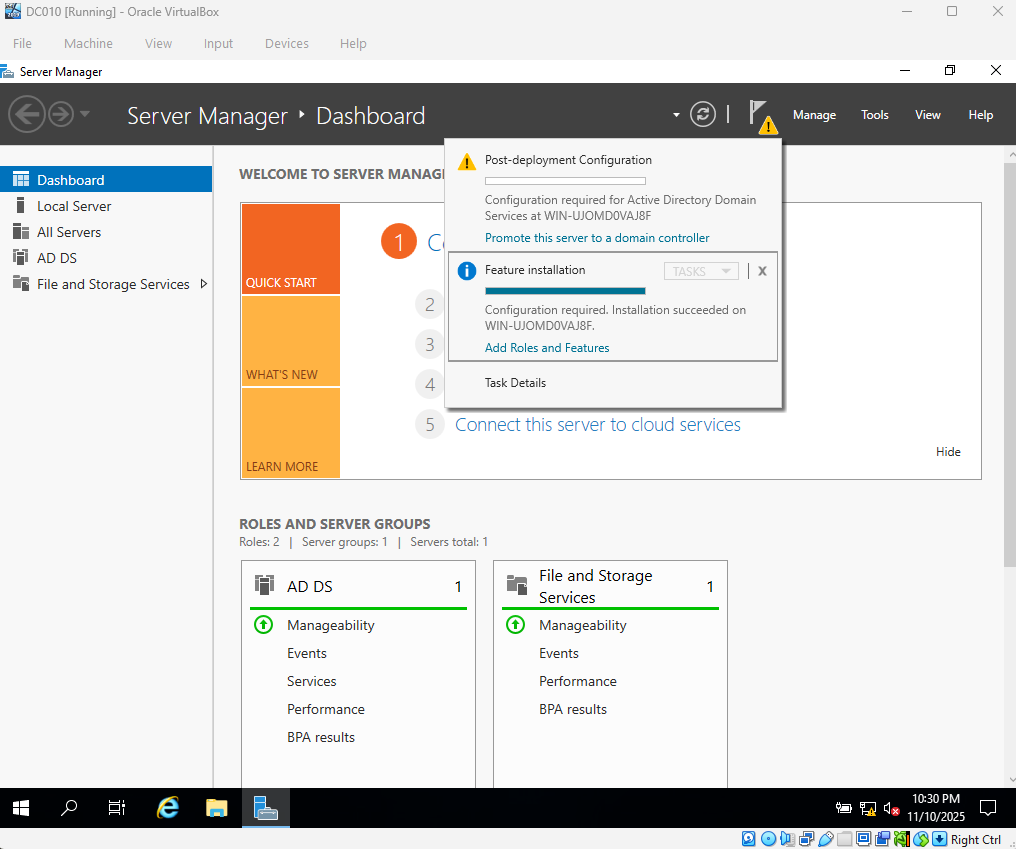
Step 6 – Promote This Server to a Domain Controller
After the role installed, I clicked Promote this server to a domain controller. This step turns the server into the main authority for authentication, domain logons, and Group Policy in the environment.
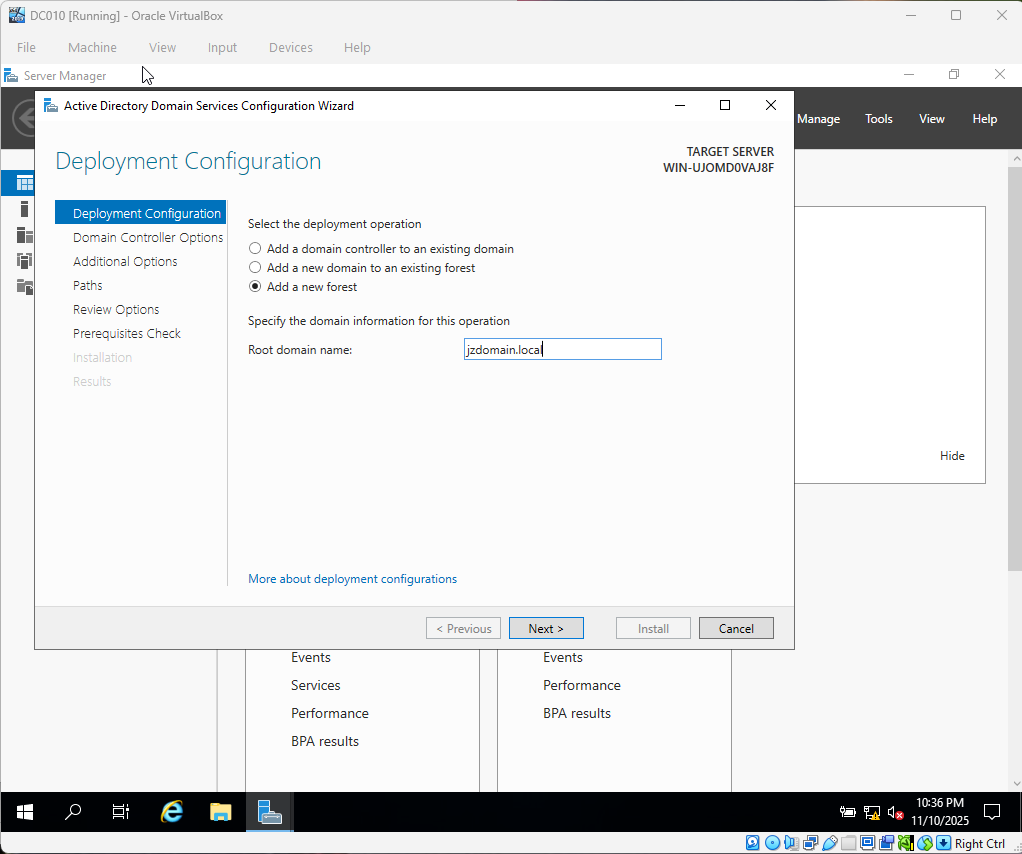
Step 7 – Deployment Configuration
I chose Add a new forest and created a new domain named jzdomain.local. This sets up the base Active Directory structure for the lab.
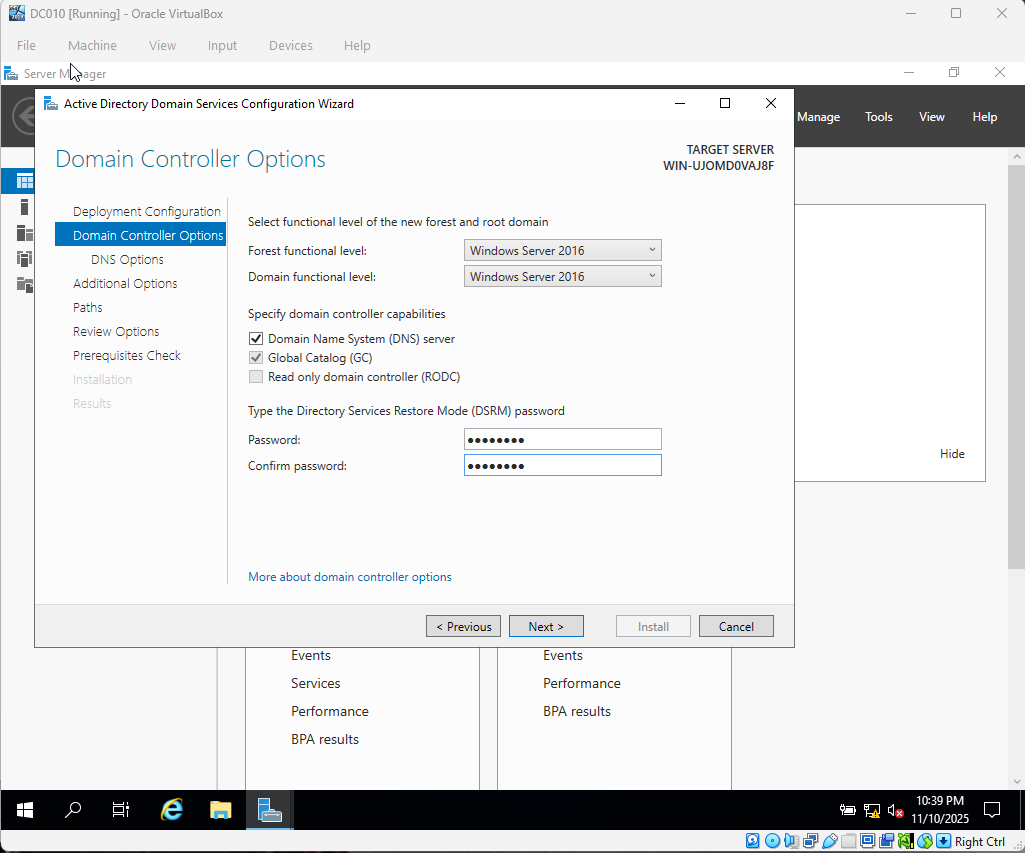
Step 8 – Domain Controller Options
I configured the Domain Controller options, including installing DNS and setting the Directory Services Restore Mode (DSRM) password. DNS is required for AD to function correctly.
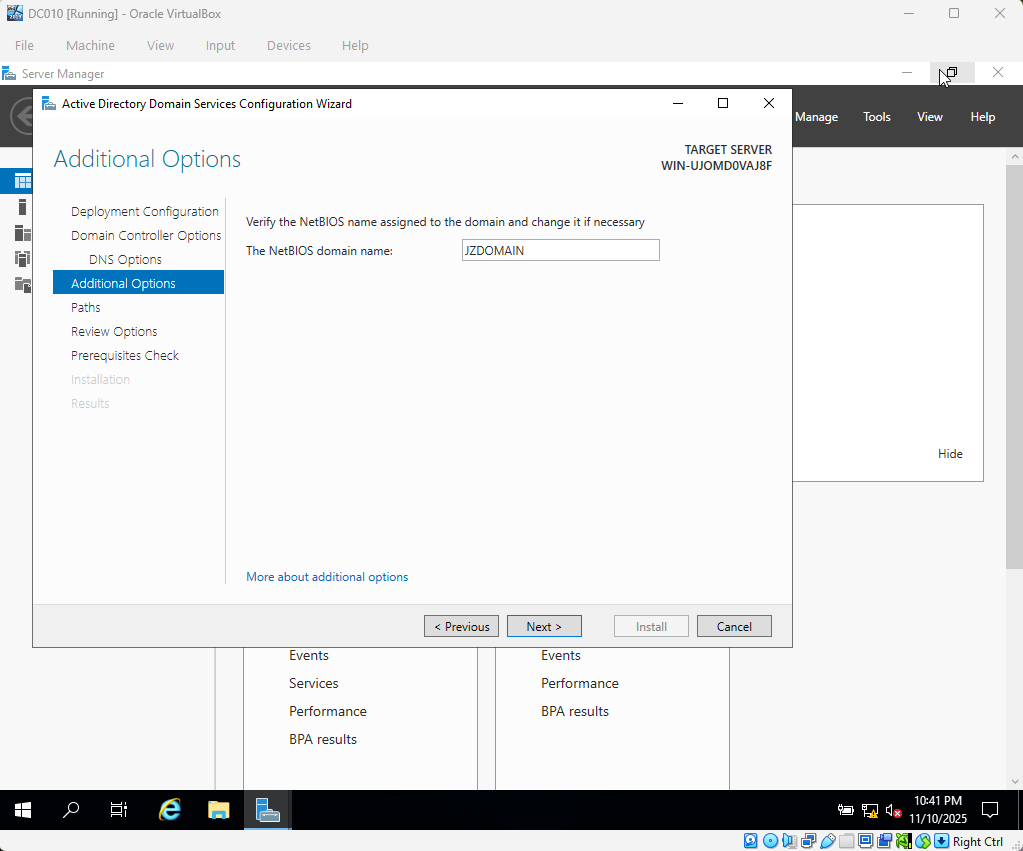
Step 9 – NetBIOS Domain Name
I verified that the NetBIOS name matched the domain prefix. This helps older tools and services that rely on a short domain name continue to work.
Step 10 – Review Options
I reviewed all configuration choices before starting the promotion. Once confirmed, the wizard promoted the server to a Domain Controller and rebooted it.

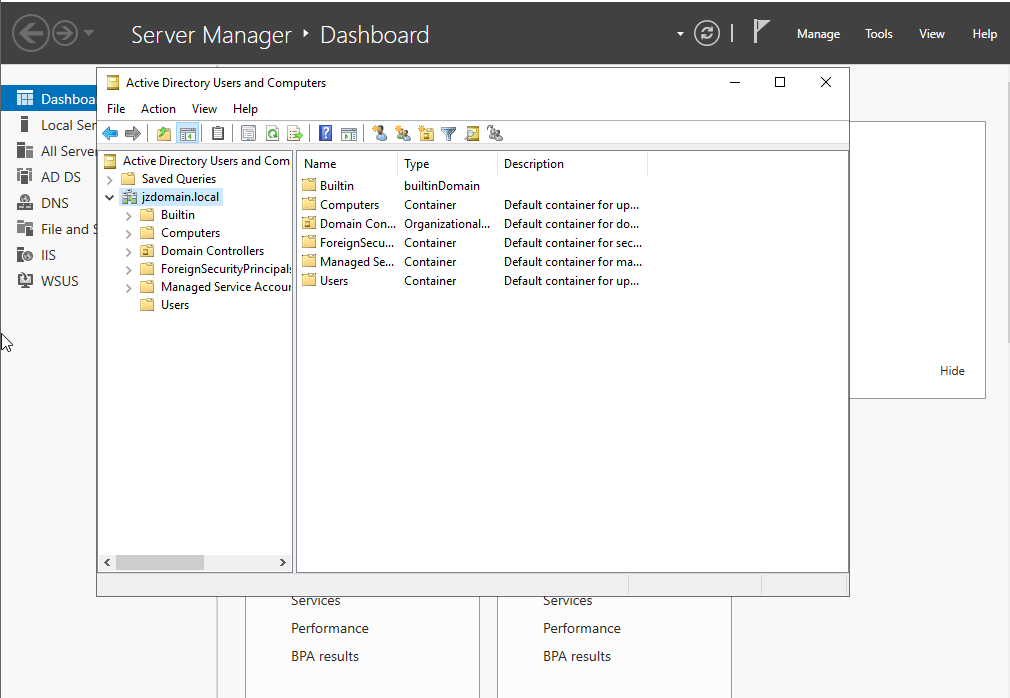
Domain Creation Verification
After the server rebooted, I opened Active Directory Users and Computers (ADUC) to confirm that the jzdomain.local domain was created successfully and that the default containers (Builtin, Computers, Domain Controllers, Users, etc.) were present.
Skills Demonstrated
- Windows Server role installation
- Domain Controller promotion
- DNS configuration for Active Directory
- Understanding of AD DS deployment steps
- Basic documentation of a lab build